


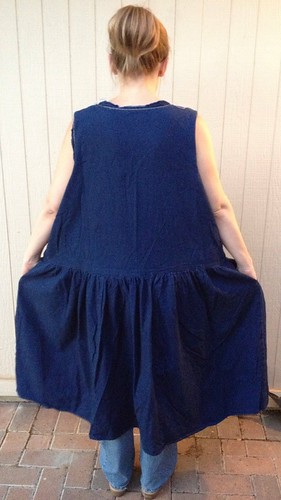
This dress, lovingly handmade by someone's mother years ago, came into my possession by way of our local Freecycle group. The gifter told me of her mother's love of sewing and her own hopes of finding someone who would appreciate the work that went into this dress (and several others she gave me) and who could give it new life again. This week's challenge seemed the perfect time to do just that!
Since there was clearly no part of the dress that fit me or was still in style, I knew I would have to start from scratch. And because this denim was a nice even tone throughout, it was ideal for a pieced-together refashion.

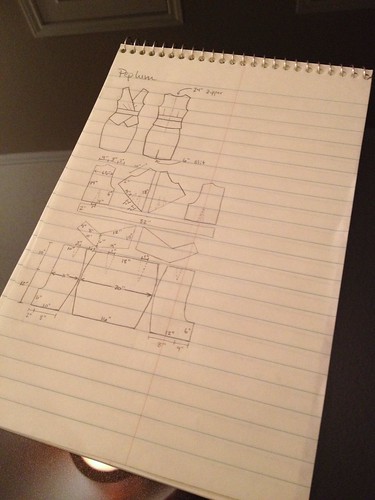
Loosely based on a photo I found on Pinterest - but modified for modesty - I drafted a pattern to my measurements.
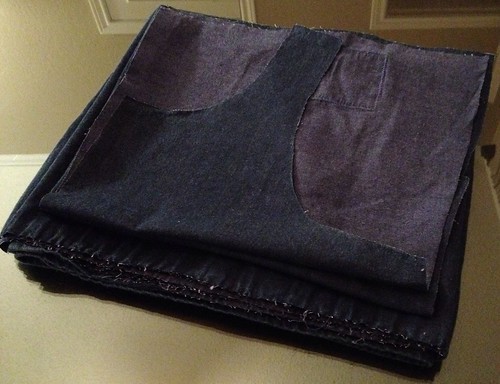
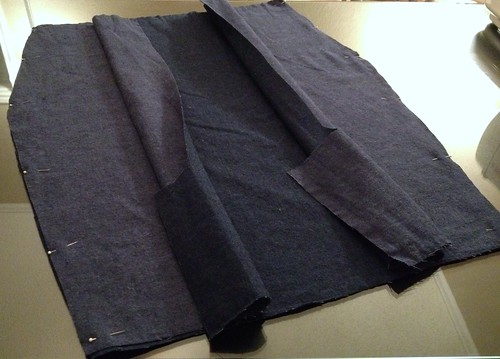
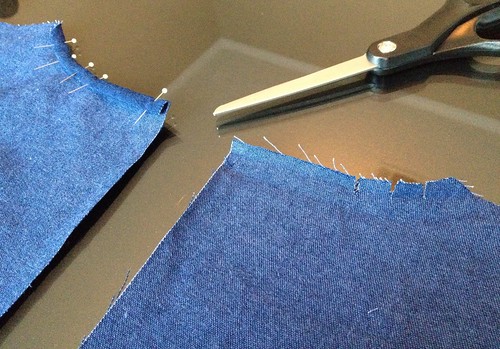
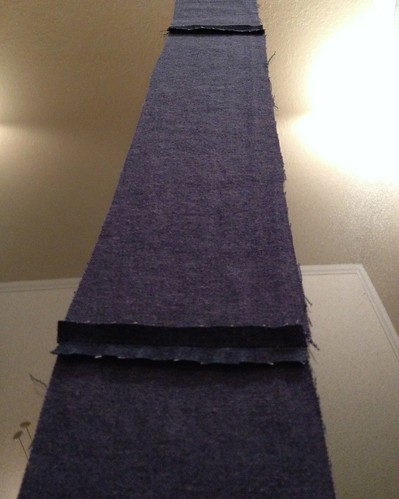
Next I cut apart all the pieces and ironed them out to get a gauge of my materials.
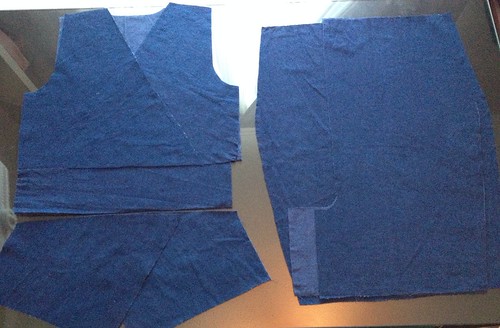
Then I cut my pieces from the original dress and began the reassembly process.
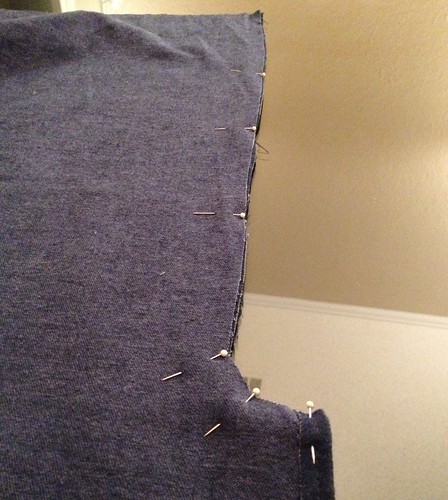
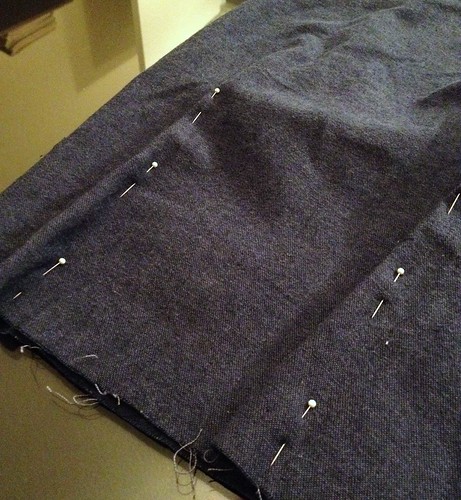
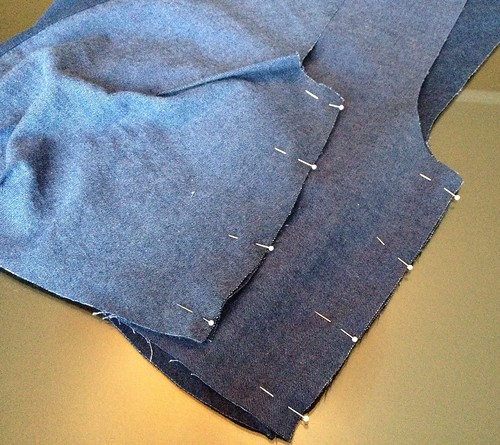
I started simple - with the skirt. I pinned and sewed the side seams.
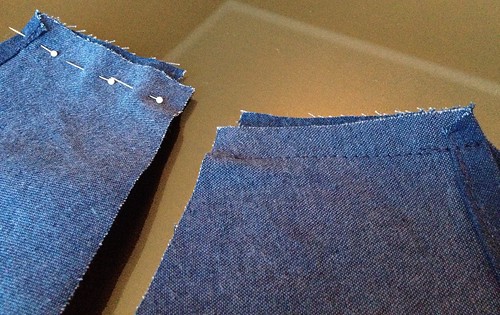
Then I finished the edges of what will become the back slit of my new dress. One side is shorter and gets a basic hem. The other side is a couple inches longer, and it gets hemmed and folded in half as well.

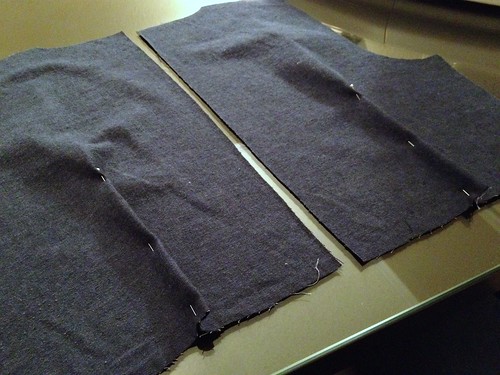
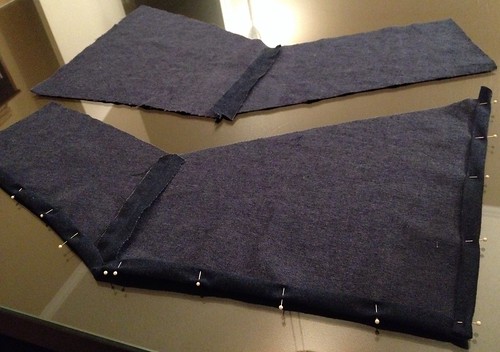
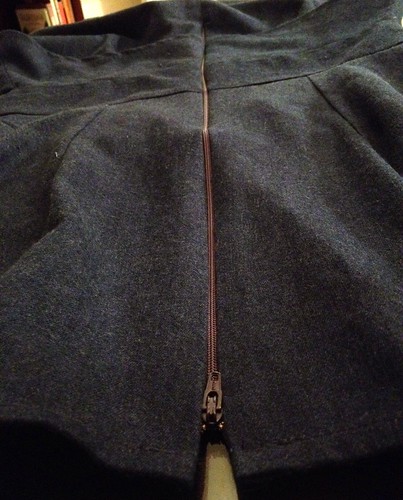
Next I seamed the back of my skirt, leaving several inches at the top open to install my zipper later.
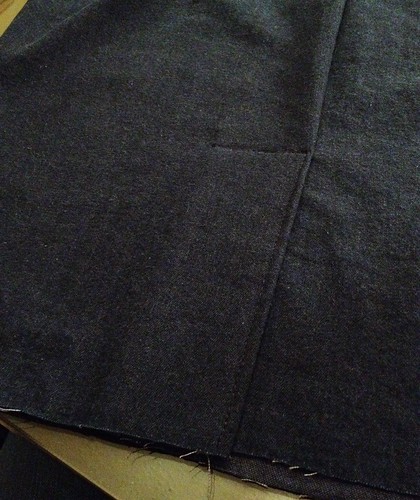
I folded the slit just so, and top-stitched the top of it.
Now it's time to hem the bottom of the skirt.
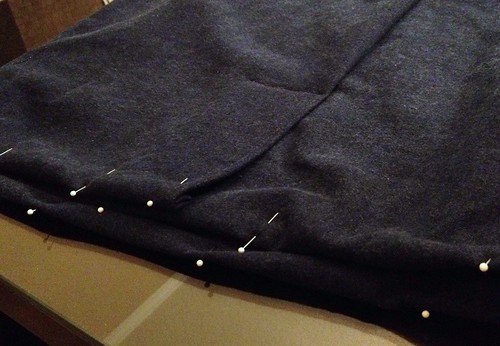
Some darts at the top of the skirt will keep it snug to my hips.
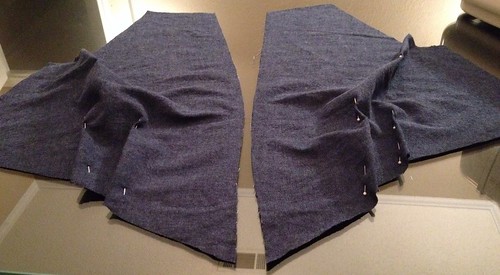
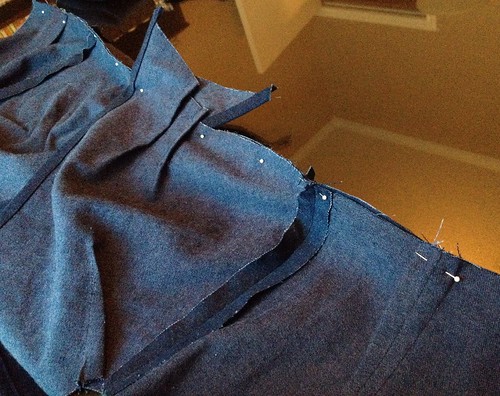
With my skirt pretty much done, I turned my attention to the bodice. I draped each panel on my chest wrong-side-out and carefully pinned my bust darts while looking in the mirror. (I really need to buy/make a dress form!)
With those complete, I hemmed the neck edge of each piece.
I also added a couple darts to the back panels.
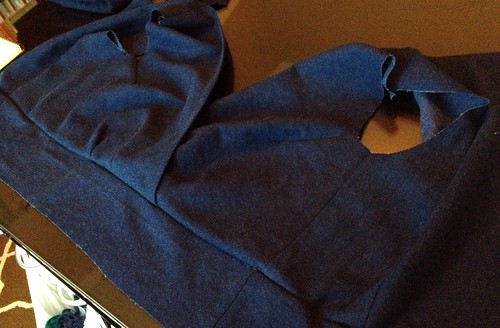
Then I sewed my side seams.
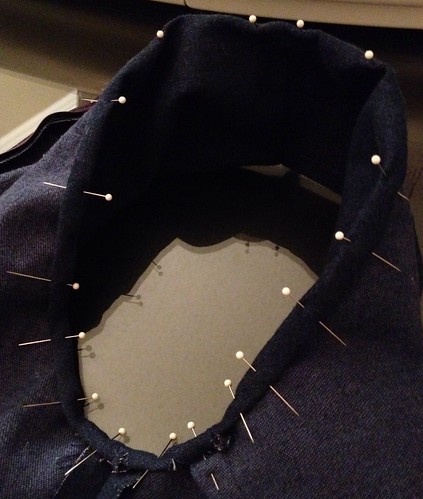
Next I hemmed the back neck edges, snipping the fabric about inside the curves to make sure the hem will lay flat.
Then I could join my shoulder seams.
I also joined the fronts and backs of my peplum and hemmed the bottom and front edges.
I sewed my waistband pieces end-to-end and pressed the seams.
The bodice was attached to the top of the waistband.
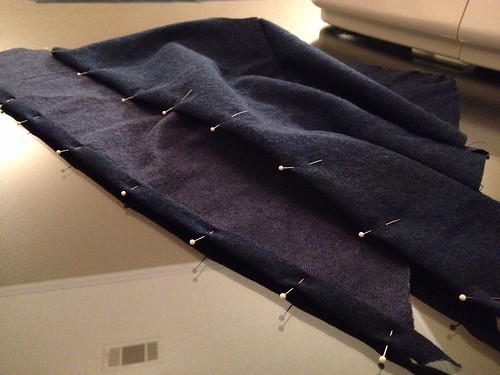
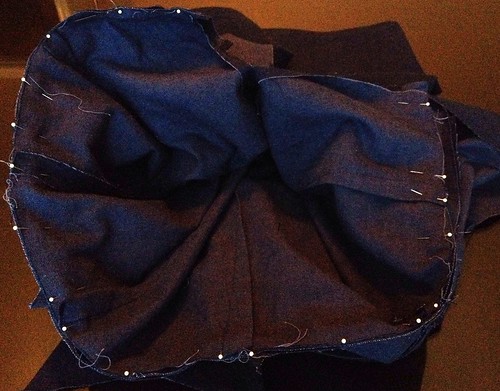
Now to put the whole thing together, I pinned the skirt to the bottom of the waistband with the peplum sandwiched in between.
I installed my zipper, which I purchased for $2.49 - the only cost of this dress! I also hand-stitched a hook-n-eye closure at the top of the zipper, but forgot to snap a pic.
And finally, my armholes were hemmed, again snipping inside the curves for a flat finish. And I pressed these and anything else that needed it.
I am so happy with how this turned out.

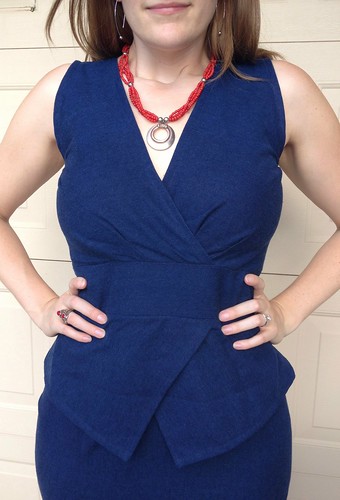
It's sleek enough for a night on the town.

But it's modest enough to be worn to work with a blazer or cardi.


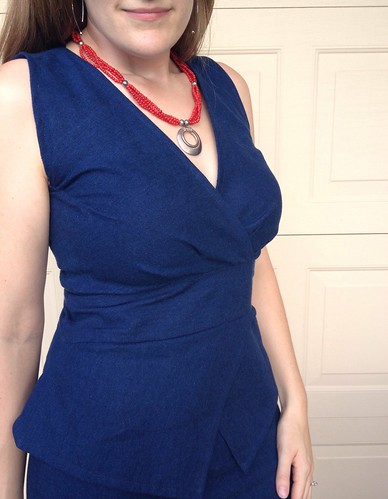
Also, did you notice I wore my hair down? Crazy! It's finally getting "cool" enough to not be sweating under the thickest hair ever.


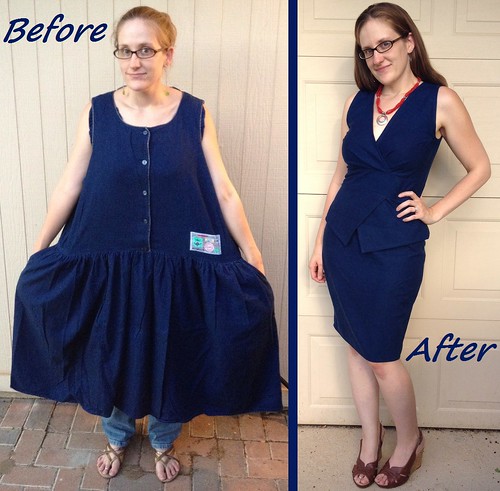
My, what a transformation!

Great job! This is adorable on you! :)
ReplyDelete~Jen
Thanks, Jen! I'm pretty fond of it too!
DeleteThis might be your best refashion ever. You get my vote this week. Deanna
ReplyDeleteWow! Thank you, Deanna! I appreciate your vote!
Delete3 words. This. Is. Amazing
ReplyDeleteMy 3 words: Thank. You. Amy!
DeleteWonderful transformation! It looks great on you!
ReplyDeleteThanks, Susan! Yours is fabulous too!
DeleteThat looks so great!!!! You are super talented :)
ReplyDeleteThank you, Denise!
DeleteI am entranced with your sketch!!!
ReplyDeleteThis piece is marvelous!!!!
Thanks, Linda! There were of course a couple of tweaks after the sketch, like the addition of bust darts in from the armholes, and the trimming of excess fabric. But hey, better to cut too big and too small!
DeleteI just love this - it's a totally different kind of peplum than what I think of when I hear that word. You did a great job, and I think you should get danger pay for pinning those bust darts the way you did! Seriously, I need to take a lesson from you - work with what I have and re-pin until it fits, instead of wishing I had a dress form. This looks stunning on you; well done.
ReplyDeleteJo H. (my name on the Renegade Seamstress blog)
Thanks, Jo! I must confess I wasn't a fan of peplums either, in general, and was a bit worried when Beth announced this challenge. Hence, the extensive Pinteresting to find a style I liked.
DeleteOh my god, that is AMAZING!!! It's so gorgeous and you look so hot in it! :) I agree with one of the other commenters above; out of all your refashions that I already love, this tops them all. Fantastic job! :) Lisa
ReplyDeleteGrazie, Lisa! I think this is my new favorite too!
DeleteThat's such a wonderful job again. You are inspiring! =D Oh, and congrats on winning last week.
ReplyDeleteObrigada, Magda! Your daughter's shorts are adorable too! Good luck!
DeleteThat is just amazing! Looks wonderful on you!
ReplyDeleteThank you, Patrice!
DeleteYou just blew my mind with this one. I've been following you on Refashion coop and always found inspiration in your posts, but this one is the creme de la creme! Got my votes , hope you win!
ReplyDeleteThanks! I appreciate the vote!
DeleteThis.Is.Great!!! I wish I will be able to sew like you one day.... It fits you so nice !
ReplyDeleteThank you, Eveline! Practice and and a little courage - that's all it takes!
Deletethis is amazing! i am dying for the end of fall when my life calms down and i finally have time to learn how to use the sewing machine i got for my wedding :/
ReplyDeleteThanks, Meghan! I hope you are able to find time; it's a great hobby!
DeleteAnd congrats on the nuptials (I'm assuming it was fairly recent if you haven't used your sewing machine yet)!
This is the most amazing remake I have ever seen. Your vision and talent is above and beyond. Love that the fabric is denim, but the style is so fitted and chic. Great Job!
ReplyDeleteThanks, Cindy! Sometimes you have to work with what you've got and hope it comes out the way it looks in your head.
DeleteCarissa!! This is smashing!! You did an incredible job, I adore this! You look like one hot mamma in this dress, seriously! And I love the detailed sketch...it makes my sketching look like toddler's doodles. :) And congratulations on the tie-win for emerald, you deserve it.
ReplyDeleteThank you, Des! Since I was basically starting from scratch here, I knew I had to plan it out very carefully. You know what they say: measure twice and cut once!
DeleteThis dress is amazing. I am really impressed. I want to learn how to make patterns like this. Well done.
ReplyDeleteThanks, Trish! Your dress turned out so cute too!
DeleteHi Carissa! I LOVE it! Awesome!!! It looks GREAT on you!!! Great pattern, great colour, and great choice!!! Voted on you and on Susan (Second Chances), too! Both are wonderful! Keep on going! Kisses from Portugal! <3
ReplyDeleteThank you, Helena! I appreciate your vote!
DeleteAwesome pattern drafting. Seriously awesome. You definitely have my vote this week!
ReplyDeleteThanks for your support, Gwen!
DeleteIt fits you so well! There are so many pieces; it's amazing! I'm amazed you made them from a dress!
ReplyDeleteThank you, Heather! This dress was definitely a step outside my comfort zone, but hey, this competition is all about challenging yourself, right?
DeleteI admire how meticulous you are with designing things. I tend to close my eyes and grab a pair of scissors. :) This is a fabulous dress! Great job!
ReplyDeleteLauren
Oh, I'm still plenty cavalier when it comes to blousier garments, but when I want something fitted, yeah, I tend to go a little wacko.
DeleteI love your new Little Black Dress too! I bet you'll get so much use out of it!
Carissa, can you e-mail me? I didn't save your address and now I can't find it! =( I need to send you something.
ReplyDeleteDone! It should be in your inbox.
DeleteLove this style !
ReplyDeleteThank you, Kathleen!
Delete