


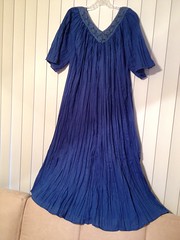
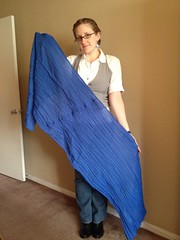

I used the other two pieces to make another scarf for myself!


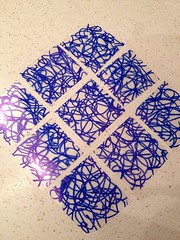
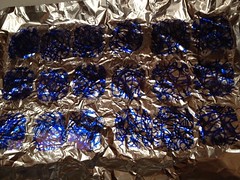
With neckwear checked off the list, now we had to address the jewelry situation. I had a clear plastic to-go container from a recent office luncheon, and it just happened to be #6 recyclable plastic. I knew just what to do with it - Shrinky Dinks! My container had my initials written on top in blue Sharpie as it had been placed in the office fridge after the luncheon. So I just went with it and scribbled all over the top and bottom of it. Then I cut each of the flat portions into nine pieces. Next, I rounded my corners and used a hole-punch so I would be able to join them together afterward. Trust me, it's a lot easier to punch holes now than it will be once they've shrunk and they're several times the original thickness.

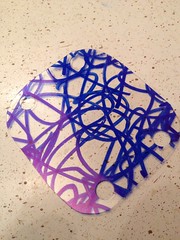
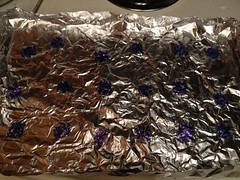
I lined them all up on my aluminum foil tray and popped them in the oven for a couple minutes. My squares that were originally about 2 to 2-1/2 inches on each side came out roughly 3/4- to 1-inch squares.
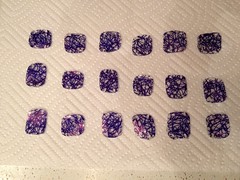
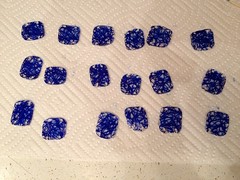
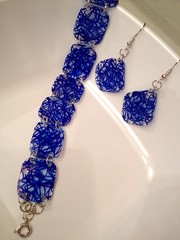
You can see them a bit better on a white paper towel. Now, I've used this tutorial before and remember that last time my design rubbed off very easily. So I decided this time to seal them with some clear nail polish. Turns out, the act of brushing on the nail polish smeared the marker a bit, but I actually like it better. After shrinking, the blue Sharpie was concentrated into a navy blue, so smearing it brought it back to royal blue. Of course, if this wouldn't have been such a happy accident for you, you could maybe try some clear spray paint to seal them instead. Perhaps that wouldn't smear your design.
Finally, I grabbed my jewelry findings - some jump rings, clasps, and earring wires - and got to assembling. Again, I had enough to make two bracelet-and-earring sets, one for my friend and one for me!
Thanks for the useful information on #6 plastic. Great idea about cutting up a muumuu for the scarves too. It's wonderful how much money can be saved with a little savvy and a some time. Cherrie
ReplyDeleteThanks, Carissa!! Fantastic tutorial. I know of several glad wear containers in my cabinets that are now doomed..... :)
ReplyDeleteThank you!!! Wonderful post and wonderful blog!! God bless!!
~Julia
No problem! I'm not sure if Gladware is the right kind of plastic though. Check for the "6" in the recycle triangle on the bottom. If not, lots of to-go containers from restaurants and grocery store delis are the right kind.
ReplyDeleteGood luck!
Does the plastic smell when you bake it?
ReplyDeleteNo, I haven't noticed any smell at all.
DeleteWhat temp on the oven?
ReplyDeleteIf you go to the link for Shrinky Dinks that I included in the original post, it recommends a temp of 350 degrees.
Delete