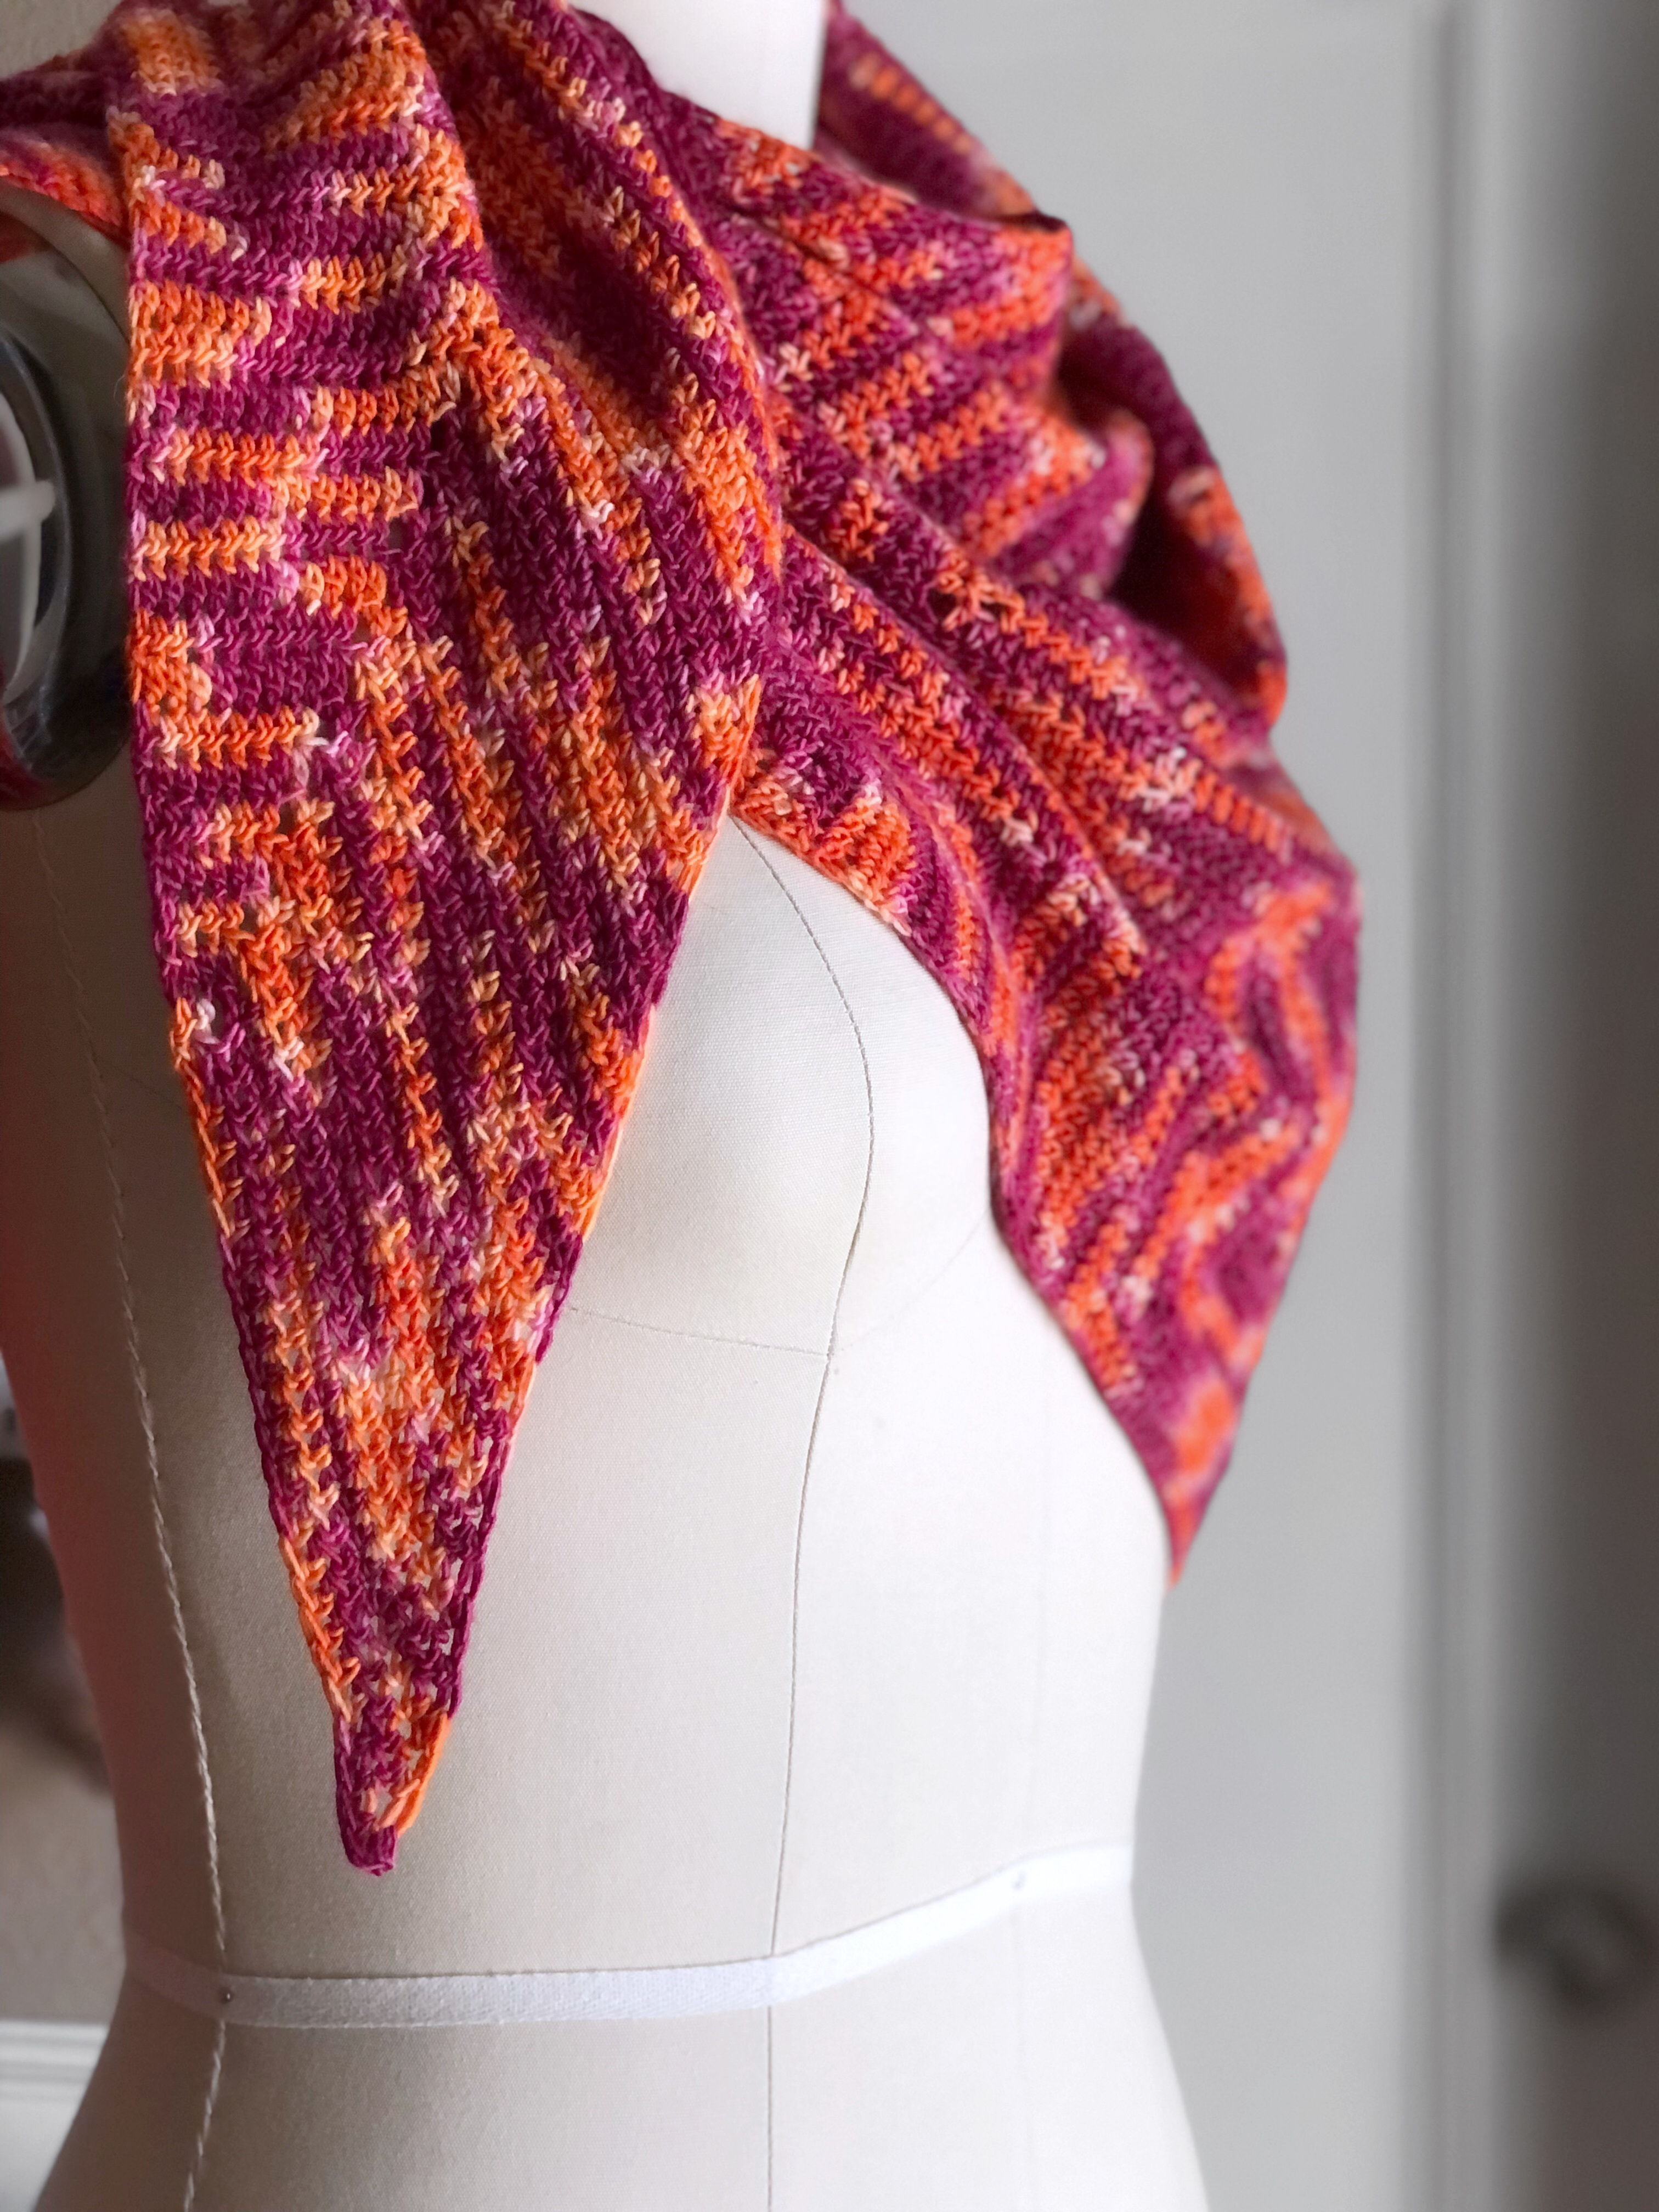


The knit pattern features garter stitch fabric with an i-cord edging, while the crochet version is linen stitch edged with camel stitch. Both are worked from the top down, beginning with a flat triangle, then joined to work a flared tube in the round. Each pattern includes video tutorial links for the relevant techniques.


These cowls were designed in collaboration with Knit Dallas, using their custom colorways from Plied Yarns. Each sample was made with 1 skein of North Ave, plus 1 North Ave bobbin for the trim.
The pattern is incredibly versatile too. You could easily use any yarn weight you like. The patterns include measurements at each step, as well as guidelines on how and where adjustments can be made, so you can work your cowl at whatever gauge you've got, in whatever size you need!
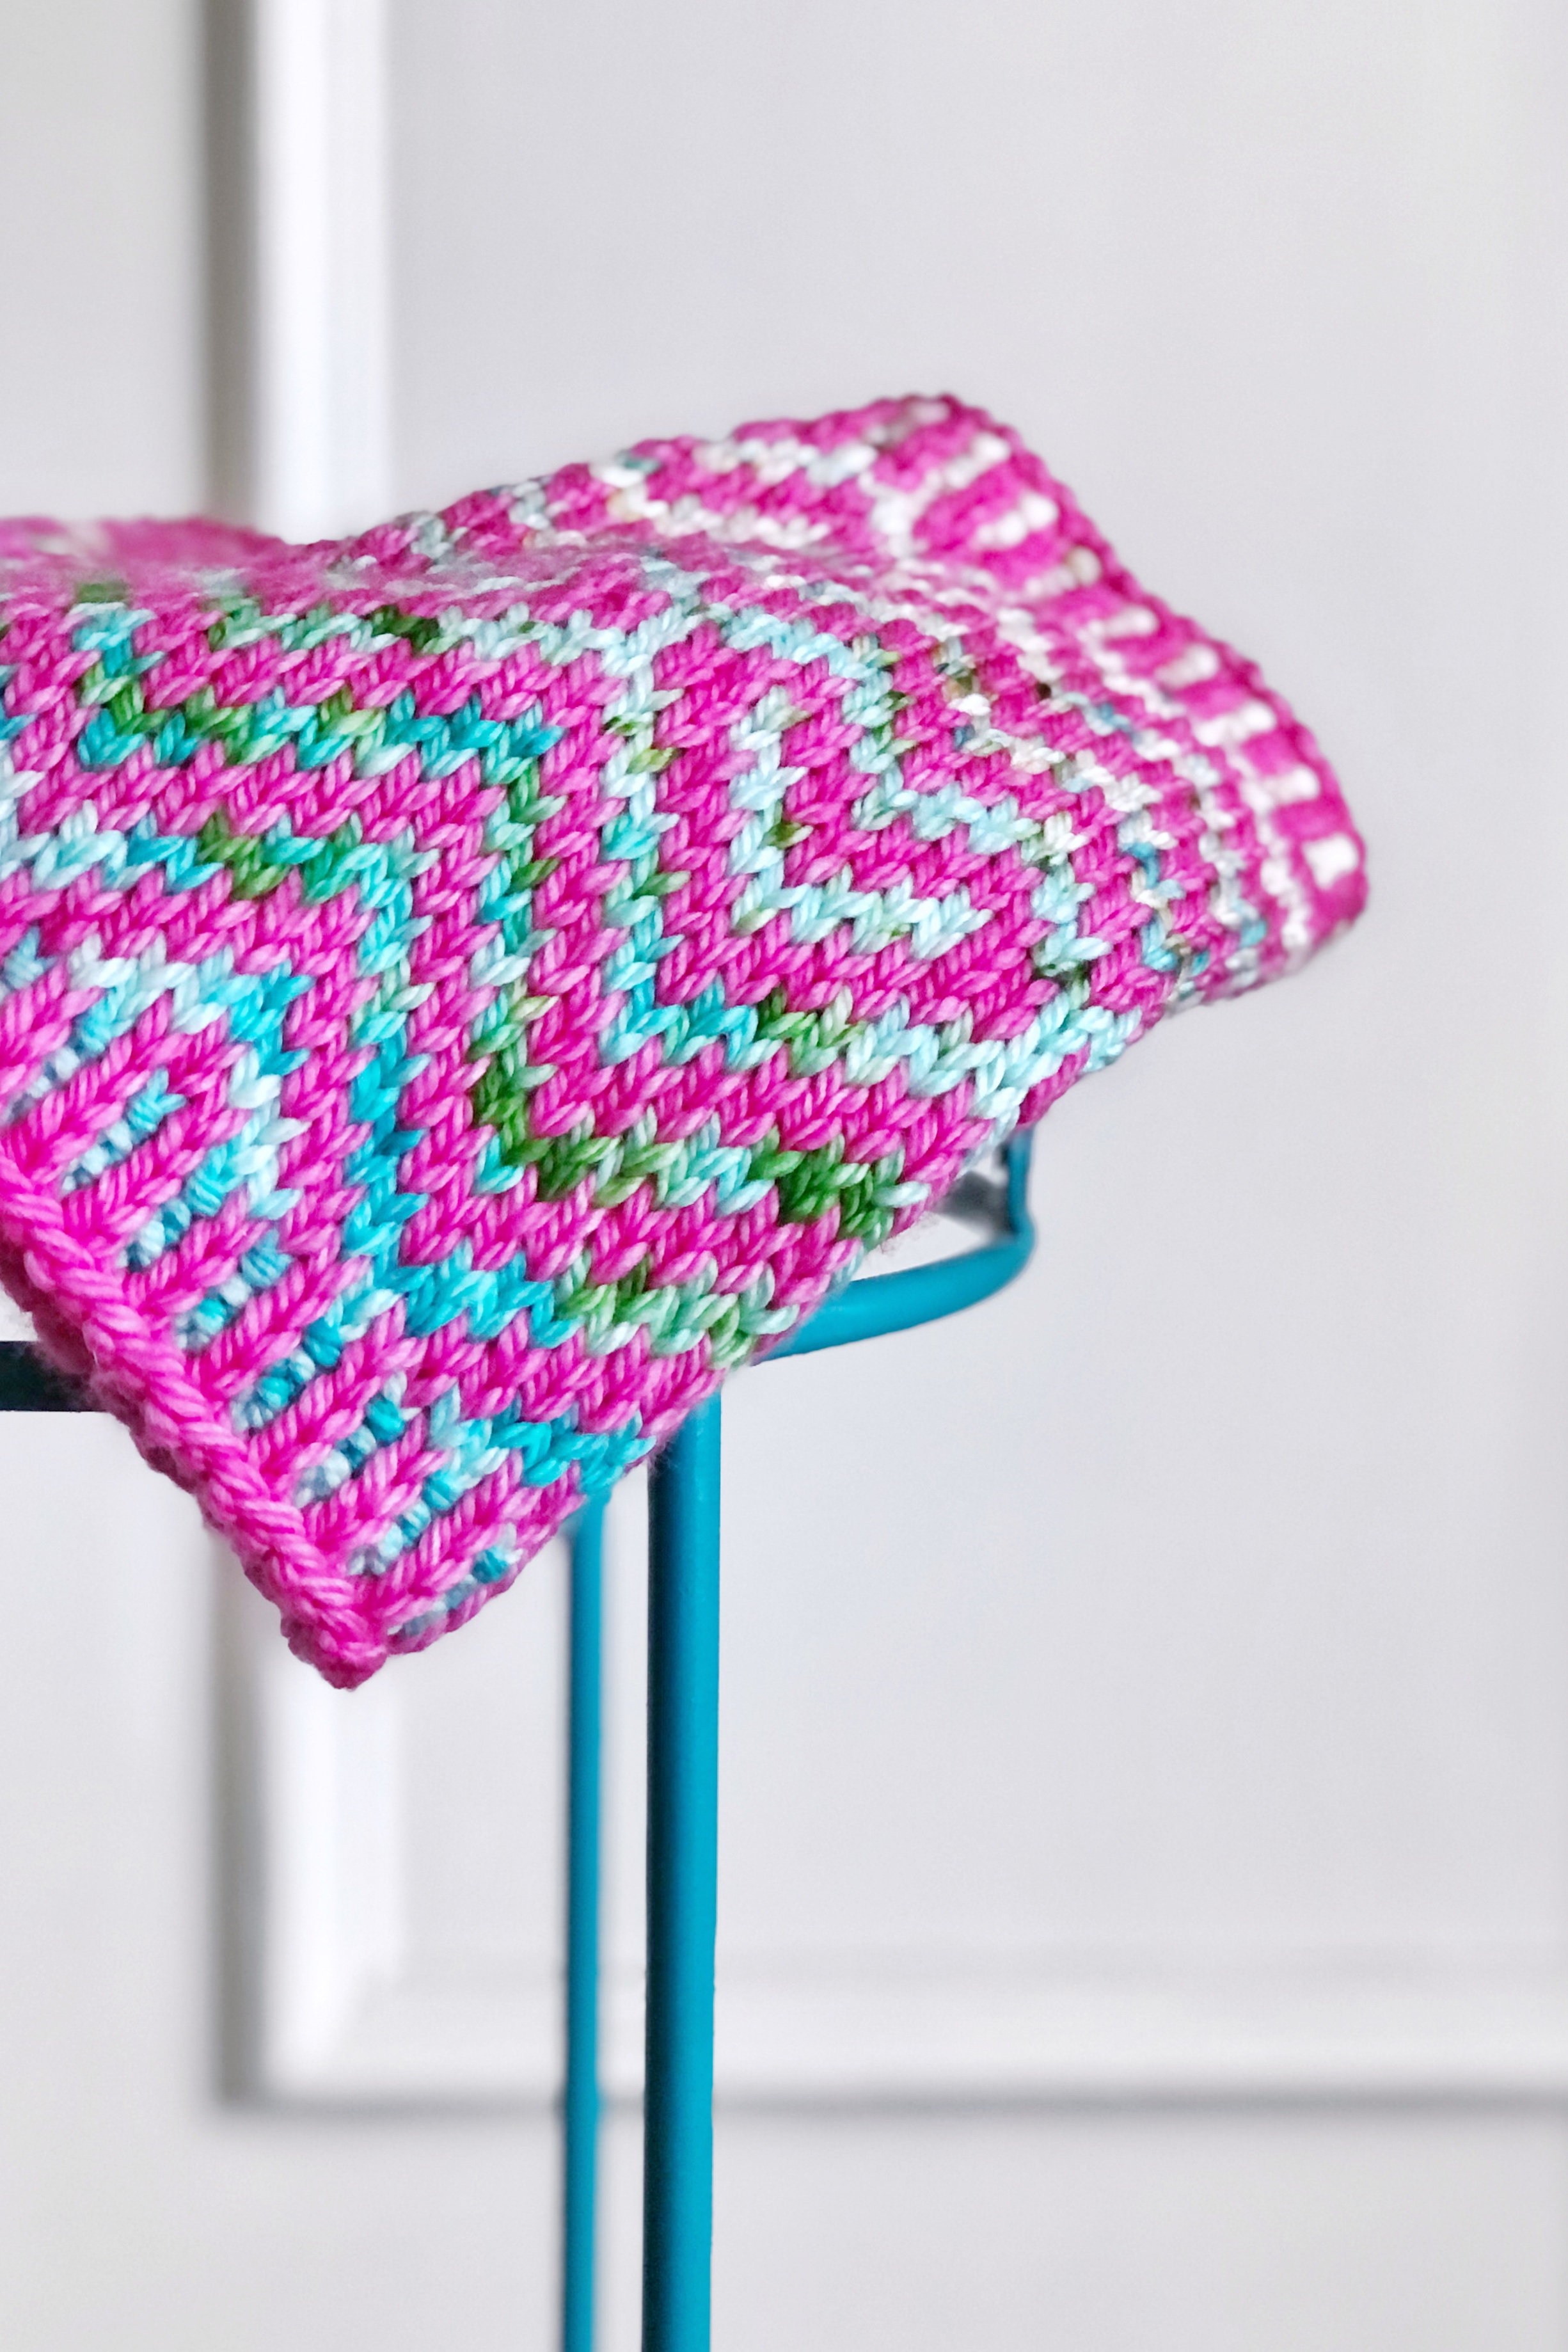
Plus, you can have tons of fun playing with color combos!
* Grab a semi-solid mini skein to accentuate that sassy speckle!
* Stick with a neutral base, then add a pop of neon in the trim!
* Let that gorgeous gradient shine!
* Wanna bust that stash? Try a scrappy stripey version!
SIZE
One size, easily adjustable
FINISHED MEASUREMENTS
Circumference at top: 21 in / 52.5 cm
Sample stretches up to 24 in / 60 cm
Circumference at bottom: 35 in / 87.5 cm
Depth at center front: 14 in / 35 cm
Depth at back neck: 3.5 in / 9 cm
GAUGE (after blocking)
20 sts/40 rows = 4 in / 10 cm in garter stitch
MATERIALS
Plied Yarns North Ave (100% wool; 215 yds / 197 m per 50g skein); 1 in Egg Custard (MC)
Plied Yarns North Ave Bobbins (100% wool; 35 yds / 32 m per 8g bobbin); 1 in National Aquarium (CC)
US #3 / 3.25 mm circular needle, 16 inches
Tapestry needle
2 stitch markers
Buy the knit pattern now on Ravelry or Payhip!!
Buy the crochet pattern now on Ravelry or Payhip!!